I’m sure I’ll be publishing this entry more than once, since I’m trying to line-up text and photos, and somehow that never translates properly between Live Writer and blogspot. So if you get six or seven alerts that I’ve published a new blog entry, relax. Have some dip.
So today in… a place that is dark and may or may not be underground, we did some light painting. What’s that? You’re not familiar with light painting? Let me explain briefly, but the photos will explain it better. A light painting is a photo (typically a long exposure; 10-30 seconds) in which you use a bright light in a dark (preferably pitch black) place to “paint.” Let me get right into the photos and you’ll understand.
To set the stage, here’s where we were shooting. Big, wide-open basements are awesome for light painting because you can usually turn all the lights off and have nothing coming in through the windows. This particular basement doesn’t have any (those ones in the back are bricked up on the outside and don’t count).
That light was the only one in the room. This is a ten second exposure. That green squiggly business over on the right is somebody playing with a laser pointer.
Here’s another ten-second exposure with the light on. This time, Mia and I are walking around in the room during the exposure. This was just to see if that one flourescent was way too much to make an effective light painting. Long story short: it was.
 Next: Just some fooling around with a couple little flashers that Mia brought in. The girl in the photo (I’m embarrassed that I don’t know her name yet) was just kind of whirling them around for a minute, so I took a thirty second exposure and it looks like a swarm of multi-colored fireflies.

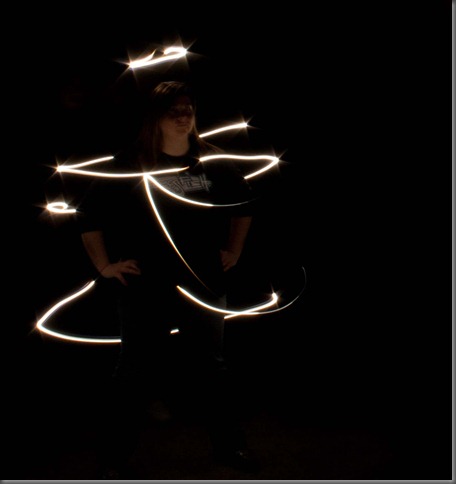
Here’s Mia with some rings around here. She stood still while Kyle walked around her and drew rings around her with what I think was a mini Maglite with the end taken off (to expose the bulb).

Here, Mia again (she’s didn’t shoot a lot today) stood while Kyle (he likes to shine the light) stood behind her with the light and traced her with the light.

Here’s Kyle. He had his flash set to burst. he stood in the middle of the room and whirled it around a little while he fired it off. Then he walked towards his camera (off-frame to the left) while he flashed his face. I bet the shot he got is a lot more interesting that mine, but mine’s still pretty cool.
 So I set my exposure to thirty seconds and used Mia’s green laser to write the letters. Up to now we’ve just been playing around. Now the real fun begins.

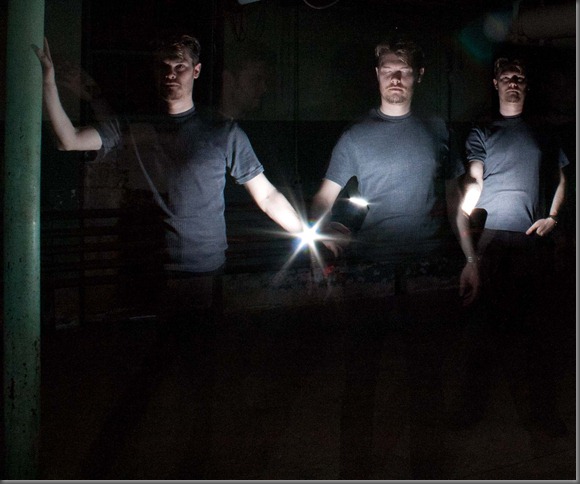
Here’s me. This is another thirty second shot. I took Kyle’s hot shoe flash, held it in my hand as I walked around during the shot. I posed a few different ways and flashed myself. So it looks like there are four ghostly Andys in the shot.

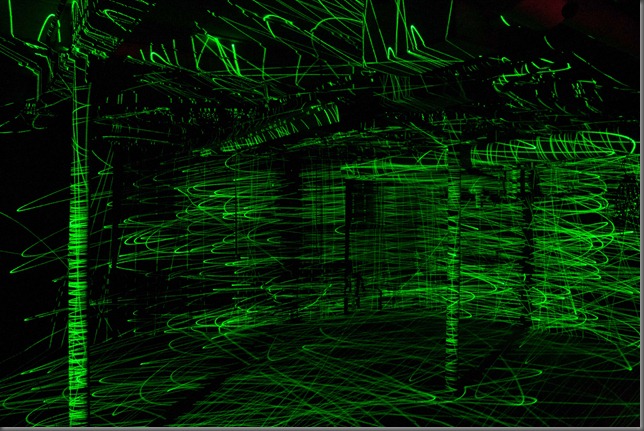
This one is my favorite. We all pushed our shutters and Kyle took the laser pointer and whipped it around the whole room. I love how you can see every little detail in the walls.

This one’s just a bit different than the last on. We all stood in the room while Kyle painted the room. Then when he was done, he flashed us. I think this would have looked better if he’d painted the room without us in it, then flashed us in.

This one’s for the Potter fans. I wrote this with the Maglite with the end taken off. I forget who initially had the idea for “Ruderman’s Army,” (Ruderman is our photography professor) but I think it’s beginning to take off. Stay tuned for shenanigans involving this meme. No, I didn’t make the “S” backwards on purpose, but it’s hard to write all your letters backwards when you’re on a thirty-second timer. Even when I did this backwards (as if I was writing on a blackboard in the air, with me between the camera and the light), I still made it backwards, still not on purposeEventually, we figured it would be a better idea to shoot on “bulb.” If you don’t know, “bulb” is a setting that holds the shutter open as long as you hold down the trigger. It’s great for light painting.
Okay. This one is sort of a light painting, in that it is actually two light paintings layered up in photoshop. There’s a shot of the group of us photographers, and a second shot of the words “Ruderman’s Army” done using a small keychain light. I think it was probably me who painted the latter shot, since the “S” is once again backwards. The group shot was taken by setting the timer on the camera (so everyone had time to get into place) and using the pop-up flash. First, I opened the shot of us in P hotoshop. Then I added the other shot as layer 1. I set the opacity of layer 1 to 60%, so that the background layer (the group photo) would show through. Then I made a layer mask on layer 1, and used the brush tool to paint out everything except the letters (which mostly amounted to black space, with a few random reflections in the ceiling). This worked out okay, but didn’t really give me the effect I wanted. The group photo was clear, but the letters were a bit… weak. The background layer shone through the letters too much. So I scrapped layer 1 and began it again from scratch. Next, I made a copy of the background layer and made it layer 2, placing it above layer 1. Instead of changing the opacity, I changed layer 2’s mode from “normal” to “lighten.” That tells Photoshop to evaluate every pixel on the layer and decide if it is lighter or darker than the pixel on the layer directly beneath it. If the pixel below is lighter, it shines through the upper layer. If the pixel on top is lighter, it covers up the pixel below. For this particular project, that means that not only the letters shine through, but so do the sparkles in the corners of the letters.


